How to Install an Electric Dog Fence
High Tech Pet Containment Systems are Designed for Easy, Reliable Above Ground Installation
Yes, you can self-install a High Tech Pet® electric dog fence, the best electric fence for dogs, above ground in less than one hour, saving thousands of dollars compared to a professionally installed electric dog fence. How much is an electric fence? Well, electric fence prices for a DIY system are about 1/10 the cost of a paid installation system like Invisible Fence ®. Do other Electronic dog fences work above ground? Basically, any electronic dog fence will work above ground however, most require you to bury the wire because the light gauge dog electric fence wire they supply is easily broken unless buried underground. Because copper wire is expensive, manufactures use light gauge wire to avoid the risk of pricing their system out of a competitive market. High Tech Pet is different. We provide special, high strength, UV and moisture resistant wire that is certified for above ground installation. How can we do this when the other guys can't. First, we are engineers and we know how to design specialized wire. Second, we have access to our own wire mill. We designed a special wire with a custom engineered, super strength, multi-layer insulation jacket that will last years in an above ground installation.


STEP BY STEP INSTALLATION
The following section covers both ABOVE GROUND electric dog fence installation. This is quick, easy, safe and reliable. If you really wish to bury your boundary wire, follow these instructions and include an extra step of making a narrow trench along the boundary path 2" to 4" deep. Place the wire in the trench and fill. Using High Tech Pet Ultra-Wire will give you and improved underground fence installation compared to typical electric dog fence wire.STEP 1: Plan Your System Layout
This is the most important step. Be sure to take the time to plan carefully. This will avoid time consuming corrections to your installation. Before beginning installation of your system we recommend you make an aerial sketch of your yard. Your sketch should include all buildings, large plants, trees, walks, driveway, pool and other important details. Then sketch in where you plan to place the boundary wire and where you would like to place the transmitter (for example, in your garage). Make sure the wire makes a continuous loop. In preparing your layout, note that you will need to allow for a field width of at least 3 feet (preferably 6 – 10 ft.) on each side of the boundary wire. Your dog will need at least another 5 to 10 ft. for a safe roaming area. Avoid making passageways too narrow or your dog may be hesitant to use them.
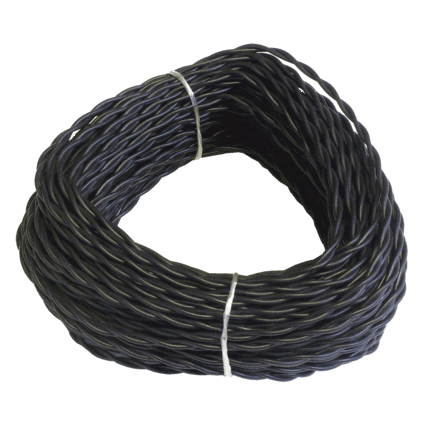
For the system to work properly, the wire must make a continuous loop so that the signal is transmitted from one terminal of the transmitter through the wire and back to the other terminal. Twisting two adjacent sections of the wire loop cancels the signal along the twisted length. So use the twisted wire from the transmitter out to the exterior loop. This allows the dog to cross the area without receiving a correction. Use other lengths of twisted wire to connect smaller boundaries around plants, pools and other pet restricted areas.
As shown in FIGURE 1, calculate the total length of wire required to ensure that you have enough to complete the installation. Remember that twisted wire counts as twice its length since there are two strands.
STEP 2: Set Up the Base Station Transmitter
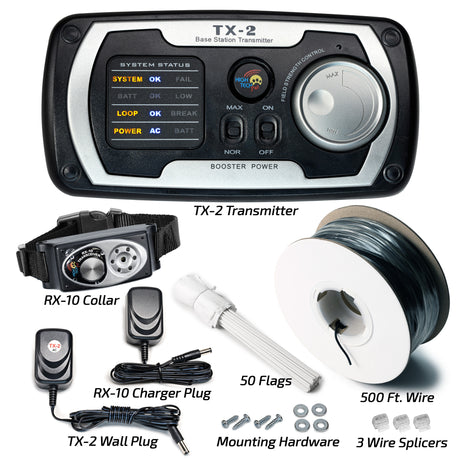
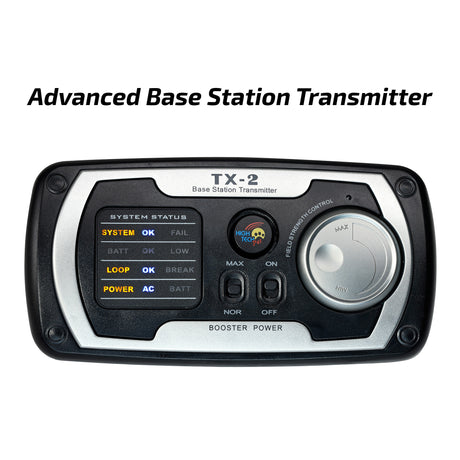
Most transmitters come with hardware kits and are easily mounted to your garage wall. If you have purchased a High Tech Pet model HC-8000, X-10 or X-22 electronic fence system, the TX-2 Base Station transmitter is sealed and may be mounted outdoors if desired. (This is not recommended for other brands.)
STEP 3: Prepare Twisted Wire Lengths First
Prepare the twisted lengths of wire. From your system layout sketch, determine the length required for each twisted pair. Cut two equal lengths of wire for each required twisted pair. With the pair of wires side by side, put one end of each wire in a power drill and spin the wires until there is approximately one twist per inch of wire. Do not over-twist because this could damage the wire. Repeat for each required pair. To eliminate this step purchase convenient pre-twisted ULTRA-WIRE. 
STEP 4: Layout the Boundary Wire Above Ground
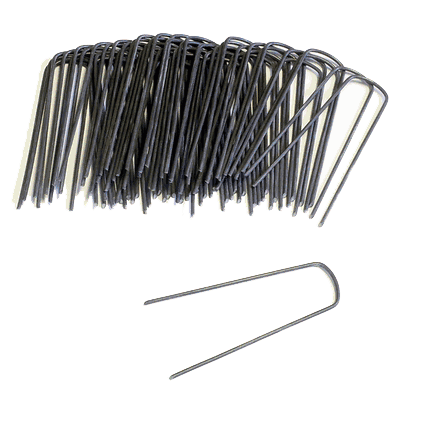
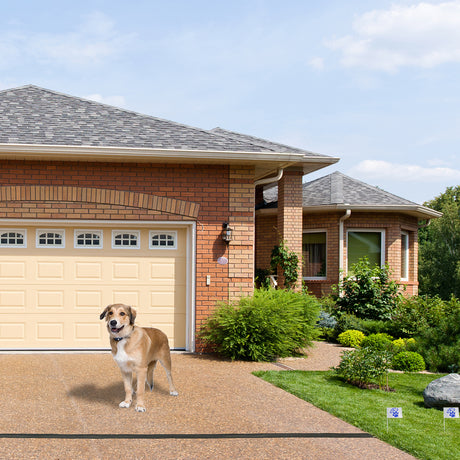
Referring to the sketch you made of your system layout, run and connect the wire loop above ground. Use High Tech Pet Boundary Wire Staples (or other rust resistant landscaping staples) every few feet to anchor the wire in place. (In a few weeks your grass will grow over the wire making it invisible from view. It is safe for you to mow over you properly anchored wire.)
Installation Tip - Give You Wire a Little Slack: Leave a little (about 15 inches) slack in the wire periodically along the perimeter and at the corners of the layout so you have a little extra wire when needed to repair a break in the loop. Wind the 15 inch slack into a 5 inch diameter coil and bury it with the wire. Choose locations for the slack that are easily identified by a terrain feature and make a map of them.
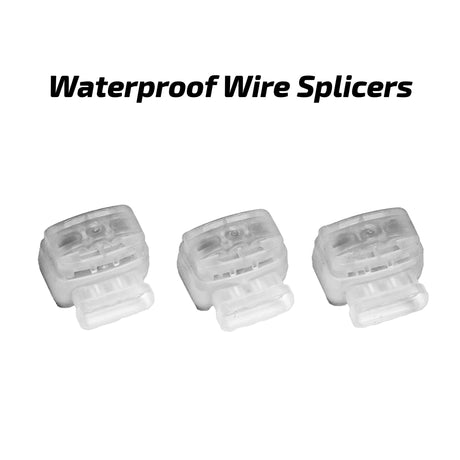
Installation Tip - Quick Splicing the Boundary Wire: High Tech Pet electronic dog fences come with custom engineered quick splicers that are silicone sealed to be waterproof and UV resistant. To use these connectors:
- Push the two ends of the wires into the outer two holes in the splice. View from the bottom to make sure the wires are fully inserted.
- Using pliers squeeze the top black button down solidly until it bottoms out.
Installation Tip - Easy on the Turns: Use gradual turns at the corners to produce a more consistent signal field. Stay at least six feet away from electrical, telephone, cable TV and other buried wires. These can cause attenuation or dead spots in your field. Large metal objects may create reflected signals from the boundary wire itself. You should avoid running the wire near such structures. If your neighbor happens to have the same brand of electronic dog fence keep your wires at least feet away from the neighbor's wire.
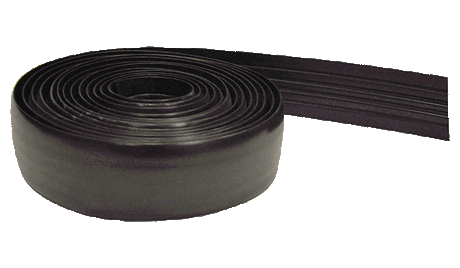
Installation Tip - Crossing a Driveway or Walk: High Tech Pet’s new optional Driveway Crossing Strip, lets you easily crosses driveways and walks with your electronic fence wire. This durable rubber slit attractively covers and protects the pet fence wire. You can drive over it, walk over it, even mow over it with no damage to the underlying boundary wire. Made of super durable elastomer, that will last years and years, it takes only minutes to install.
STEP 5: Test Your System
Switch the Base Station Transmitter ON. Take your Receiver Collar and walk the entire boundary ensuring that the collar continues to beep along the entire perimeter. Also check the lengths of twisted wire to make sure that the field is inactive in the areas where they are used. If the collar picks up a signal from the twisted length, the basic layout is probably incorrect -- review the discussion of single and double loop layouts. If you are using a single loop layout, twisted wire can only be used at the base station, or at the feed from the primary loop to another primary loop (example: small loop within a large loop).
THAT'S IT!
You just installed your electronic dog fence in less than one hour. Now, on to training your dog.

TRAINING YOUR DOG
Training your dog will require use of a separate restraining collar and short training lead. Do not use the radio receiver collar as a restraining collar. Structure your training program to two or three, fifteen-minute sessions per day, EVERY DAY until your dog is fully trained. Stick to this program consistently but, do not train for more that fifteen minutes at a time or you risk losing your dog’s attention and the training becoming counter-productive. Remember that the most important elements in teaching a behavior are consistency and repetition.
Place the Boundary Training Flags
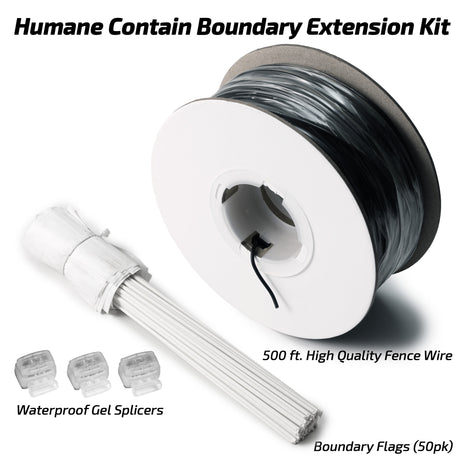
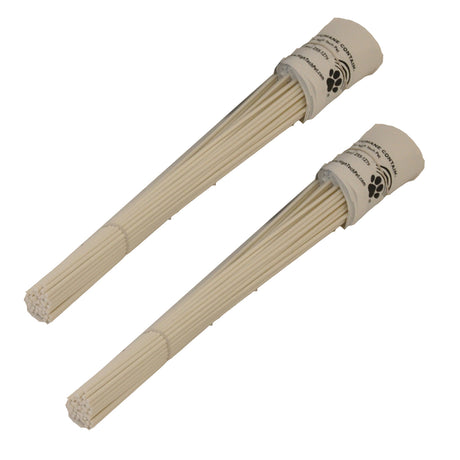
Boundary flags are provided so that your pet can easily see the boundary perimeter. This is especially important during training. Flags should be placed along the entire perimeter spaced no more than ten feet apart. Using a fully matching color. Use asphalt sealant for asphalt driveways.
STEP 2: Fit the Receiver Collar to Your Dog
For the receiver collar to properly apply the corrective shock stimulus, it is very important that the electrodes make good contact with the animal’s skin. Fur between the electrodes and skin can greatly reduce the amount of stimulus transmitted to your dog. For this reason, we recommend that you shave the fur under your dog’s neck where the electrodes contact the skin.
- Place the collar around your dog’s neck with the receiver housing at the bottom.
- Fit the strap as snugly as possible without restricting breathing. Make sure both electrodes are in good contact with your dog’s skin. Use of a little skin lotion on your dog’s neck will improve contact.
- Once you have determined the proper fit, mark the strap and cut off the excess length.
STAGE 1 TRAINING
Stage 1 training takes place in the outer edge of the boundary field.
- Choose a Command: You should choose a specific verbal command to instruct your dog to retreat, such as “Retreat,” “Back” or “Home.” Use this command exclusively and consistently throughout the training.
- With boundary flags in place, field fully operational and a fully charged Receiver Collar on your dog, use the training lead to escort your dog into the outer edge of the boundary field. When you hear the beeping tone, utter the retreat command while firmly tugging on the lead and lead your dog into the safe zone. Use encouraging words such as, “Good Dog!” Praise and pet your dog. You may also wish to give your dog a food treat.
- Repeat this stage for fifteen minutes each session until your pet instinctively and immediately retreats the moment the training tone is heard.
STAGE 2 TRAINING
In Stage 2 training you will lead your pet right up to a boundary flag introducing the most rapid pulse rate stimulus. As unpleasant as this stage may seem, it is extremely important that you teach your pet how to react to the intense stimulus. Otherwise, your dog may become confused and cower in the correction field or instinctively run the wrong way through the field. Bear in mind that you do not want to let your dog in on the knowledge that the stimulus field is only a few feet wide. Let him think it continues forever.
- With the training lead tightly in hand, escort your dog right up to the boundary flag where the stimulus will be most intense.
- The instant your dog reacts, utter the retreat command and escort your dog into the safe zone. Use encouraging words, praise and pet your dog and give the animal a treat as before.
- Repeat this stage for fifteen minutes, three times per day until there is no doubt that your dog has “Got it,” observing your dog’s resistance to entering the boundary field or trying to retreat before the stimulus is received. These are good signs.
- Observe your pet: Once you are certain that your pet will INSTINCTIVELY retreat at the first training tone, allow the animal to roam freely and observe his behavior. Make sure that you see him stop at the
- boundary flags on his own. If your dog shows the slightest sign of confusion or stubborn behavior, continue the training program using the lead. It’s okay to return to Stage 1 training if you think it is appropriate.
OTHER USEFUL INFO:
IMPORTANT CAUTION NOTICES Dogs are Unpredictable: Because individual dogs have unique temperaments, there is no way of knowing how your dog will react to its introduction to the training program. For your safety and your dog’s, initial training must take place using a training lead so that you keep complete control over the situation. Also realize that an aggressive animal could turn against the handler upon receiving the shock stimulus. Therefore, if you feel your dog has an aggressive behavior or has ever exhibited evidence of such behavior, we strongly suggest that you consult a certified animal behaviorist before using this product as a training aid.
Skin Conditions: A small percentage of dogs may experience a skin condition called pressure necrosis, also known as contact dermatitis, caused by the pressure of the two probes against the same place on the dog’s neck for an extended period of time. This condition causes an infection, creating irritation and sores. We recommend you check your dog’s neck often to ensure that no such condition is evident. If your dog has a history of sensitive skin, eczema, skin allergies or rashes we recommend that you do not use an electronic fence collar to contain an animal. If you do observe a skin irritation, take your dog to a veterinarian who may prescribe a local ointment to clear up the condition. Bear in mind that it is not possible for the shock stimulus emitted by the RC-8 collar to directly damage your pet’s skin. The electrical current output is simply too low to cause burning, or any other type of cellular, skin or organ damage. The stimulus excites nerve receptors only. Neurological Conditions: In extremely rare cases, animals may have neurological disorders such as epilepsy. You should be certain that your dog does not suffer from such a disease before using any type of sonic, or shock stimulus training collar. Also, make sure that your dog does not suffer from heart disease or any other chronic condition and be assured that your pet is in generally good health before using this product.
TROUBLESHOOTING PROCEDURES: If any part of the system is not working use the following troubleshooting procedure to isolate the failed component. Then contact High Tech Pet Products Customer Support to get it repaired or replaced. 1) Test Base Station Transmitter a) First disconnect the boundary wire loop from the base station transmitter by lifting the small door on the bottom of the transmitter and pressing the two wire connection buttons (one is black the other is red) while pulling gently on the wires. b) Apply power to the transmitter and verify that the BREAK DETECTION circuit indicates a break. There will be an audible alarm and a message on the transmitter face. If a break is NOT indicated, the base station transmitter has failed – repair or replace. c) Make a Test Loop Wire as follows: Strip 1/2 inch of insulation from the two ends of a 24 inch long piece of spare insulated wire. You can use any gauge wire. d) Attach the Test Loop Wire to the loop terminals (black and red) on the bottom of the transmitter. Apply power to the transmitter and verity the BREAK DETECTION circuit does NOT indicate a break. There should be no audible alarm and no Break message on the transmitter. If a break is detected the Base Station Transmitter has failed – repair or replace. 2) Test all Humane Contain Collars e) With the TEST Loop Wire attached and the transmitter powered adjust the transmitter Boost Power switch to normal (NOR) and the Field Strength Control knob to maximum (fully clockwise). Now bring one collar at a time close to the Test Wire Loop and verify the collar is triggering. If you hear a beeping tone and see a flashing red light on the face of the collar the collar is working and the Base Station Transmitter is working, so go to step 3) to verify the loop. f) If you do not hear a beep and see a flashing light on the face of the collar then either the collar, or the transmitter, or both have failed. Let’s try to isolate the problem down to a single component. • If you have another collar, repeat step e) on that collar. If that collar passes the test then that collar and the Base Station Transmitter are OK, and only the first collar is failed – repair or replace just the first collar. • If you have a friend who also owns a High Tech Pet Humane Contain system that is working, test your collar(s) on their operating system by holding your collar next to their collar in the yard. As you move both collars toward the wire loop both collars should beep at about the same rate. If this is true your collar(s) is working and your Base Station Transmitter has failed – repair or replace. g) If you cannot determine which component has failed, return both the collar(s) and the Base Station Transmitter to High Tech Pet Products for analysis and repair. 3) Test the Containment Loop h) Once you have verified the components are working using steps 1) and 2) above, disconnect the Test Loop Wire and re-connect the containment wire loop to the Base Station Transmitter. Place the working collar on the ground about five feet from the wire, in a “clean” area of the yard. Clean means with the least amount of metal or concrete nearby (concrete may contain metal re-bar). This area should be free of underground pipes if possible. i) Face the collar toward the wire. This makes the face almost parallel to the wire at that point. j) Turn on the Base Station Transmitter, set the Boost Power switch to normal (NOR), and adjust the Field Strength Control Knob to maximum (fully clockwise). If the BREAK DETECTION indicates a break then the loop is broken and needs repair. Go to step 4). k) The collar should now be beeping and flashing a red light on the face of the collar. If not, the loop is intermittent and needs repair. Go to step 4). l) Slowly adjust the Field Strength Control Knob on the transmitter counter clockwise until the collar stops beeping. If the collar is still beeping when the Knob is fully counter clockwise, the Base Station transmitter is faulty – repair or replace. m) Slowly adjust the Knob clockwise and note the beeping starts at a rate of about one beep every half second. Continue slowly adjusting clockwise and note the beeping rate increases to two short beeps every half second. Continue slowly adjusting clockwise and note the collar beeping at an even higher rate that sounds like a string of beeps every half second. This means the loop and the entire system are working properly. If not the loop is intermittent. Go to step 4).
Repairing a Broken or Intermittent Containment Loop There are many ways to approach repairing a faulty loop depending on the length of wire, the number of connections, the terrain, available equipment, etc. Please contact technical support at Techsupport@HighTechPet.com for a list of methods.
No products found
No products found
-
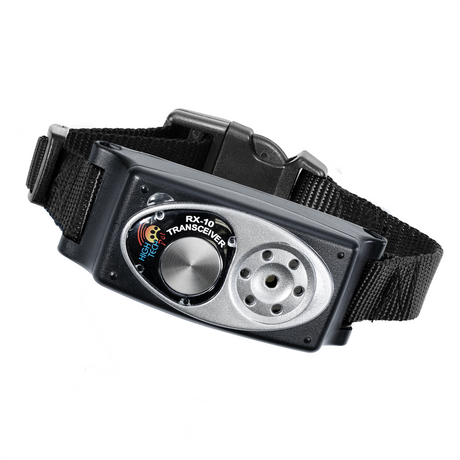
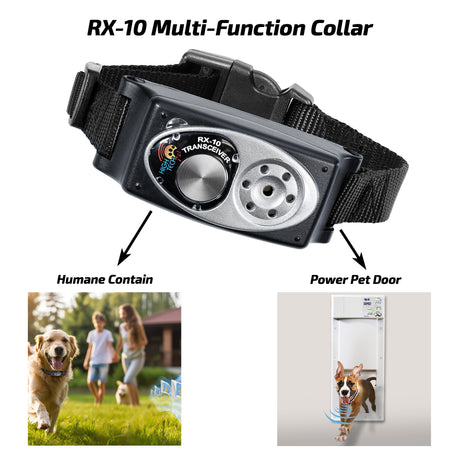
Model RX-10 E-Fence & Power Pet Door Combo Collar
Reg:$149.99Today's Sale Price: $94.99Unit price /Unavailable -
X-10 Rechargeable Multi-Function Electronic Dog Fence
Reg:$349.99Today's Sale Price: $264.99Unit price /Unavailable -
X-10 Rechargeable, Multi-Function Electric Fence Upgrade Kit - No Wire or Flags
Reg:$299.95Today's Sale Price: $169.74Unit price /Unavailable
No products found
No products found
-
Reg:$89.99Today's Sale Price: $74.99Unit price /Unavailable -
Model B-3V8 Radio Collar Battery 2 Pack
Reg:$15.49Today's Sale Price: $13.99Unit price /Unavailable -
100 Feet, Pre-Twisted Ultra-Wire
Reg:$44.99Today's Sale Price: $39.99Unit price /Unavailable -
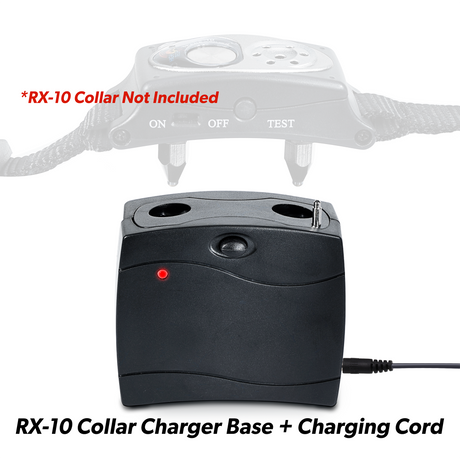
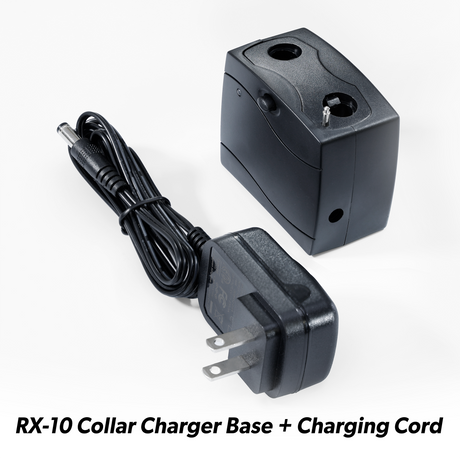
BATTERY CHARGER for RX-10 MULTI-FUNCTION RADIO COLLAR
Reg:$39.99Today's Sale Price: $34.99Unit price /Unavailable -
Waterproof, Burial Grade Pet Fence Wire Splicers - 10 Pack
Reg:$39.99Today's Sale Price: $29.99Unit price /Unavailable -
Reg:$34.99Today's Sale Price: $29.99Unit price /Unavailable -
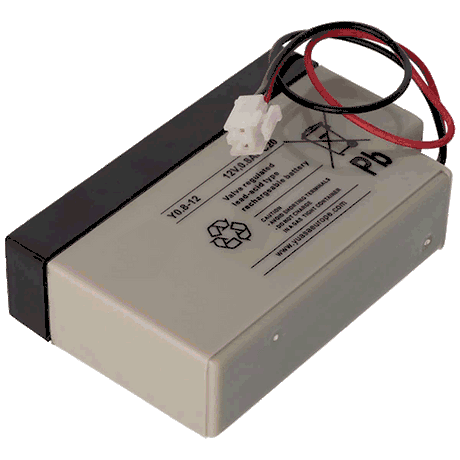
Auto Recharging Humane Contain™ Transmitter Back-up Battery
Reg:$54.99Today's Sale Price: $44.99Unit price /Unavailable -
DRIVEWAY CROSSING STRIP For Electronic Fence Wires
Reg:$29.99Today's Sale Price: $19.99Unit price /Unavailable -
Reg:$14.99Today's Sale Price: $9.99Unit price /Unavailable -
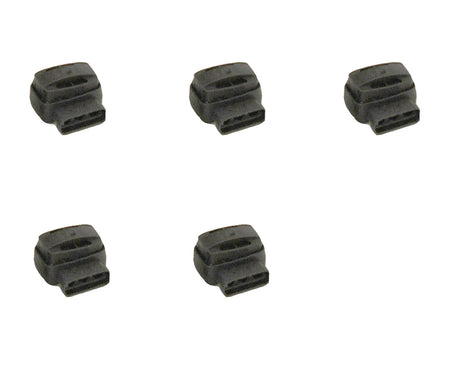
Waterproof, Burial Grade Pet Fence Wire Splicers - 5 Pack
Reg:$8.99Today's Sale Price: $7.99Unit price /Unavailable -
Reg:$14.99Today's Sale Price: $0.00Unit price /Unavailable -
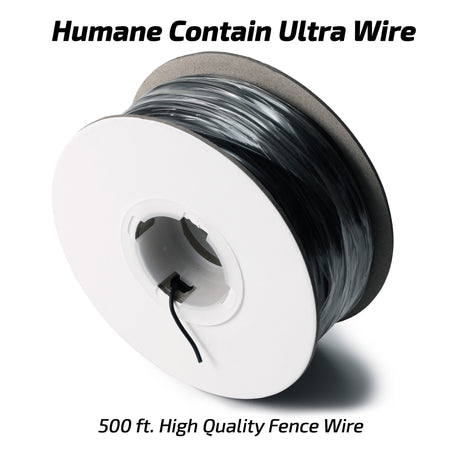
Model UW-500 ULTRA-WIRE SPOOL™ BOUNDARY EXTENSION
Reg:$89.99Today's Sale Price: $74.99Unit price /Unavailable -
DRIVEWAY CROSSING STRIP For Electronic Fence Wires
Reg:$69.99Today's Sale Price: $59.99Unit price /Unavailable -
Model B-3V8 Radio Collar Battery 2 Pack
Reg:$15.49Today's Sale Price: $13.99Unit price /Unavailable -
Humane Contain Yard Staples (50 Pack)
Reg:$34.99Today's Sale Price: $29.99Unit price /Unavailable


